ModelJUnit JavaFX GUI (modeljunit-fx)
The modeljunit-fx module provides a standalone JavaFX application for interactive model exploration, FSM graph visualisation, and test generation with live coverage feedback.
Building and Running
Prerequisites: Java 21, Maven 3.6+
Application Overview
When the application launches you see the main window with five tabs, a toolbar, and a status bar:
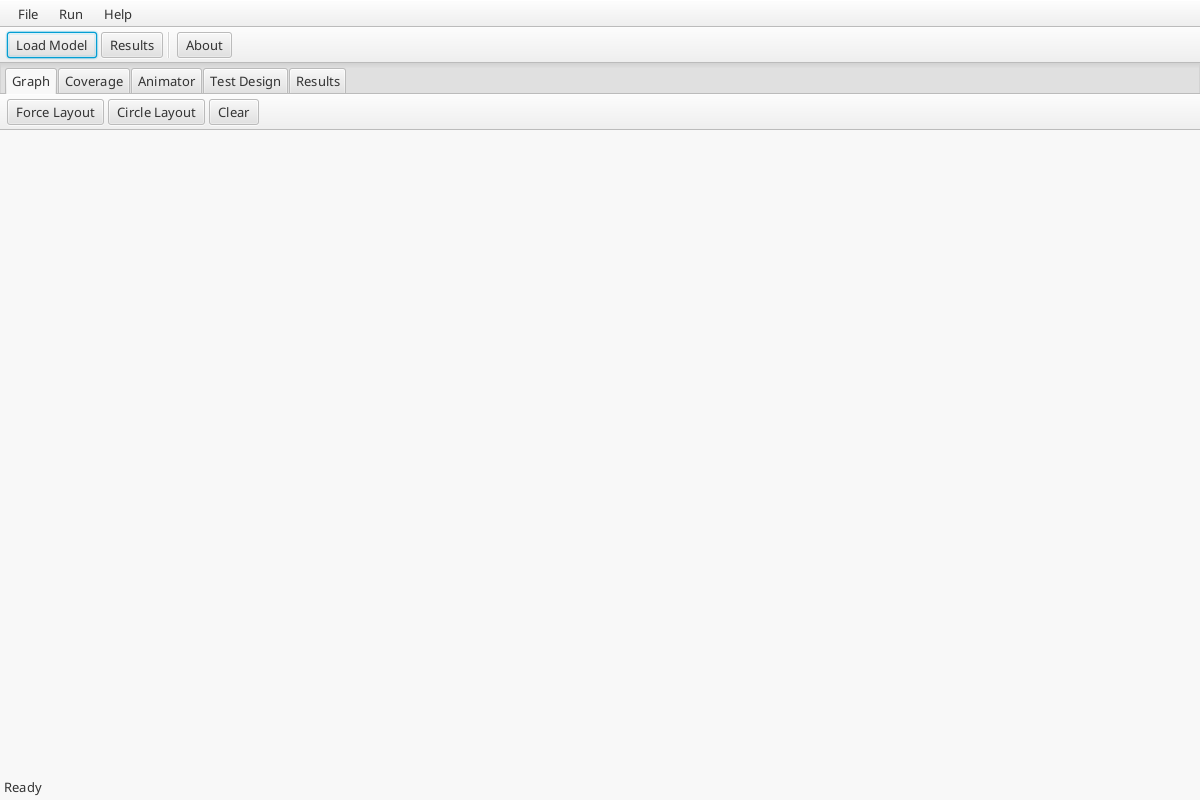
The toolbar provides quick access to Load Model, Results, and About. The menu bar has File (open model, exit), Run (generate tests, build graph), and Help menus.
The five tabs are:
| Tab | Purpose |
|---|---|
| Graph | Interactive FSM state diagram (SmartGraph) |
| Coverage | Real-time coverage chart |
| Animator | Manual step-by-step FSM navigation |
| Test Design | Configure and run automated test generation |
| Results | Action log for the current test run |
Loading a Model
Switch to the Test Design tab to load a model:
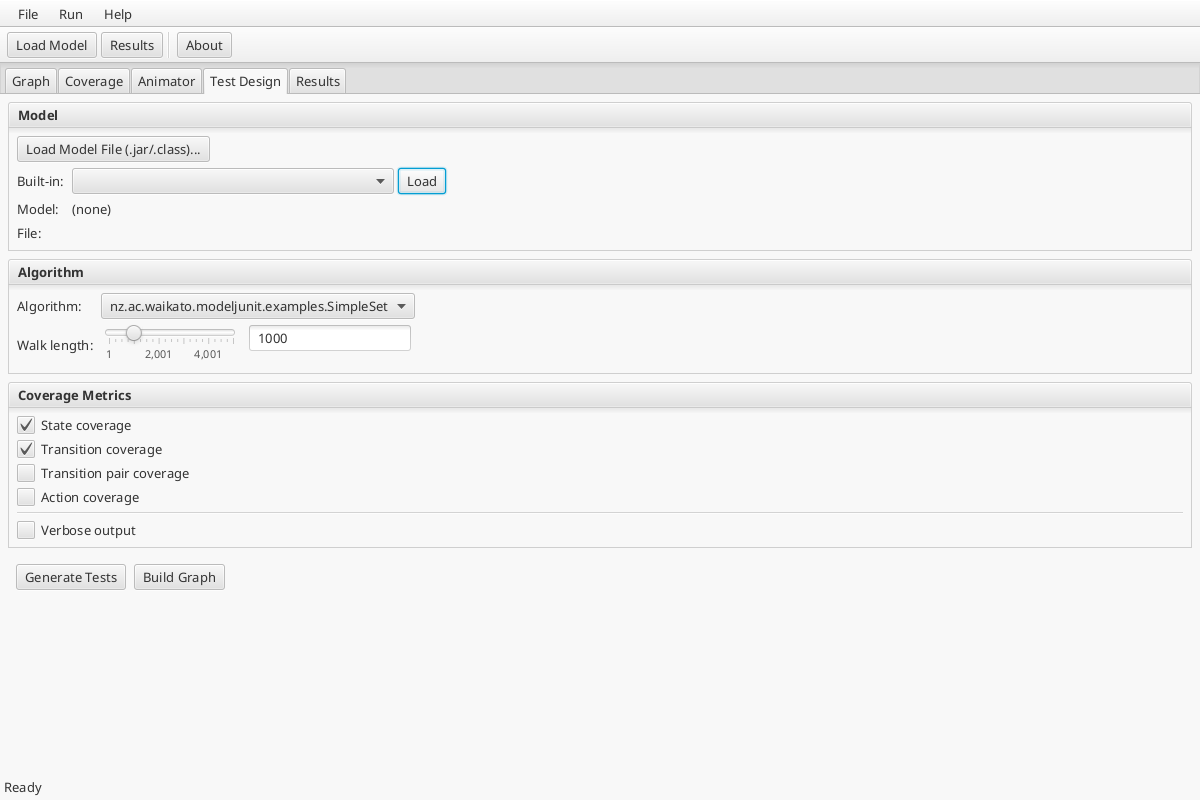
Built-in models
- Select a model from the Built-in dropdown (e.g.
nz.ac.waikato.modeljunit.examples.SimpleSet). - Click Load.
- The Model field updates to show the loaded class name.
From a JAR or class file
- Click Load Model File (.jar/.class)....
- Select your compiled model file.
- Enter the fully qualified class name in the dialog.
- Click OK.
Configuring Test Generation
Still on the Test Design tab, configure the test run:
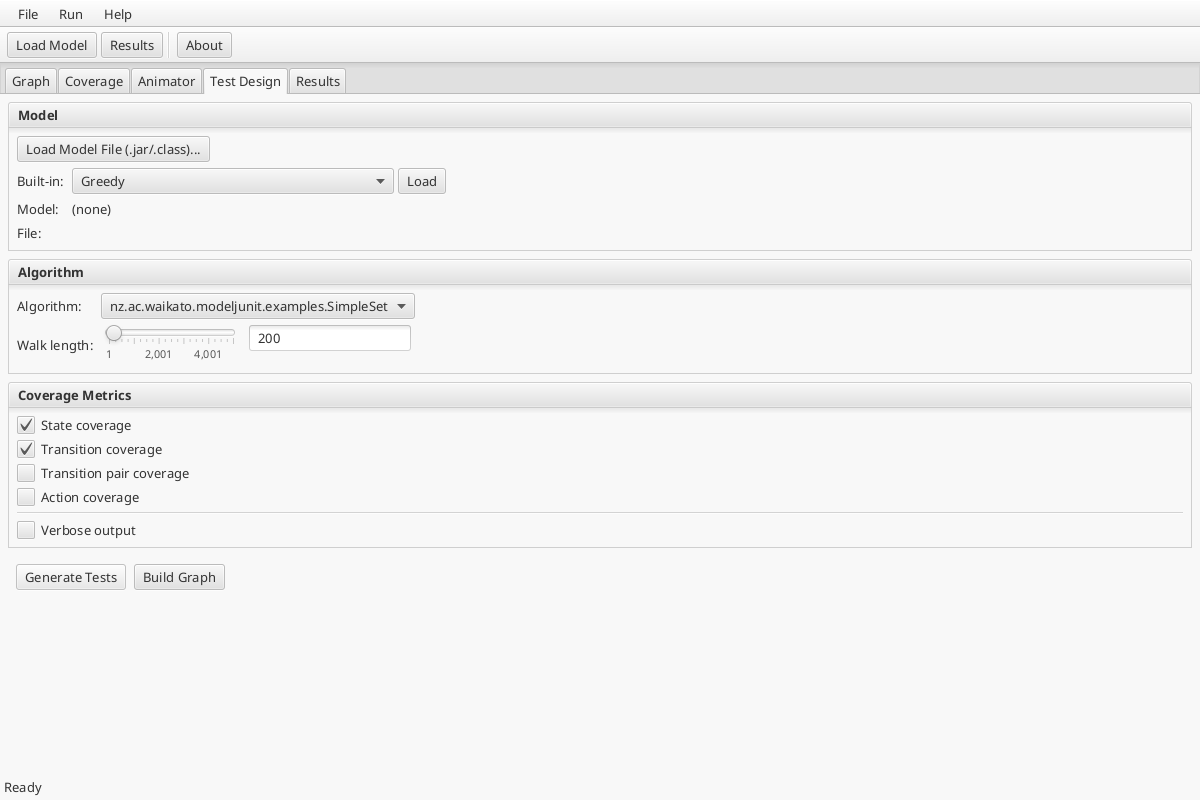
| Control | Purpose |
|---|---|
| Algorithm | Select tester: Random, Greedy, Lookahead, or Quick |
| Walk length | Number of test steps to generate (slider or text field, 1–5000) |
| Coverage Metrics | Enable State, Transition, Transition pair, and/or Action coverage |
| Verbose output | Log every action to the Results panel |
Click Generate Tests to start. Click Build Graph to exhaustively explore all reachable states without generating a test sequence.
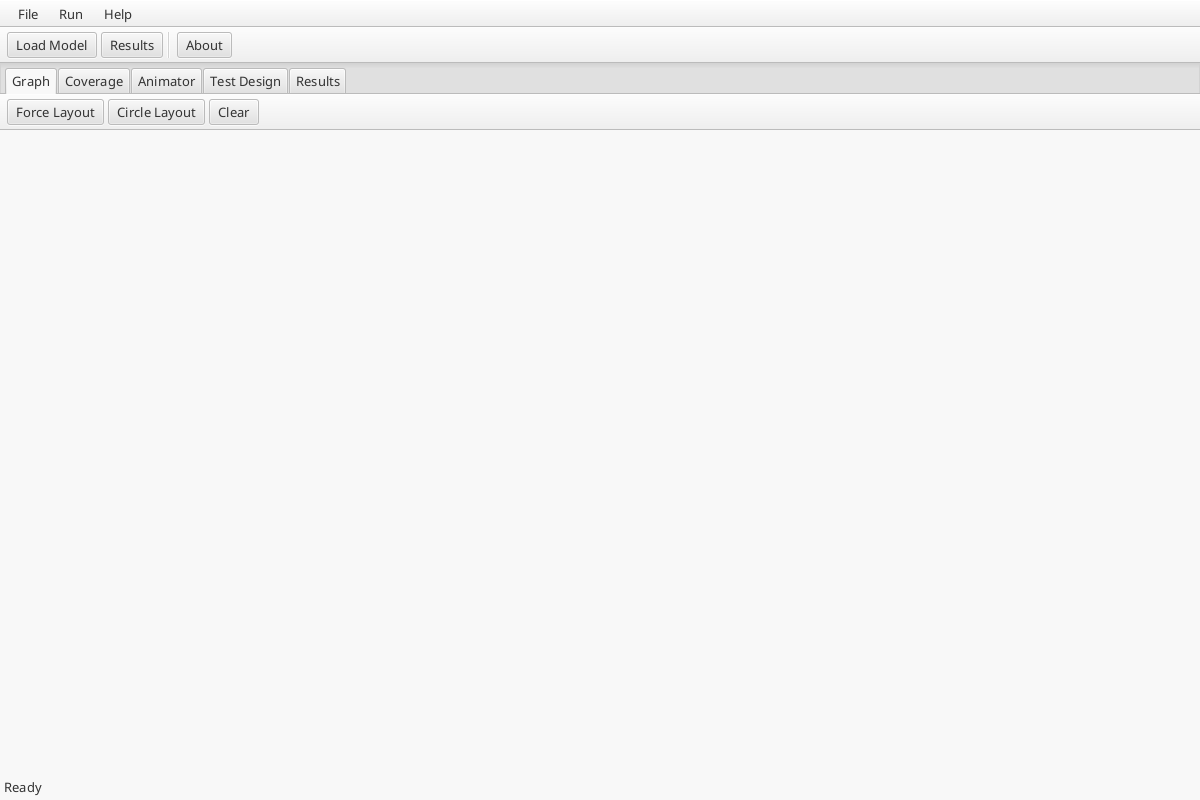
Viewing the FSM Graph
After generating tests or building the graph, switch to the Graph tab:
The graph uses SmartGraph to render the FSM as an interactive directed graph.
| Element | Meaning |
|---|---|
| Circle node | A distinct FSM state (value returned by getState()) |
| Directed edge | A transition (one @Action firing) |
| Edge label | The action method name |
Interaction:
- Drag nodes to rearrange the layout.
- Use Force Layout or Circle Layout buttons to auto-arrange.
- Click Clear to reset the graph.
Reading the Coverage Chart
Switch to the Coverage tab to see how coverage progresses over test steps:
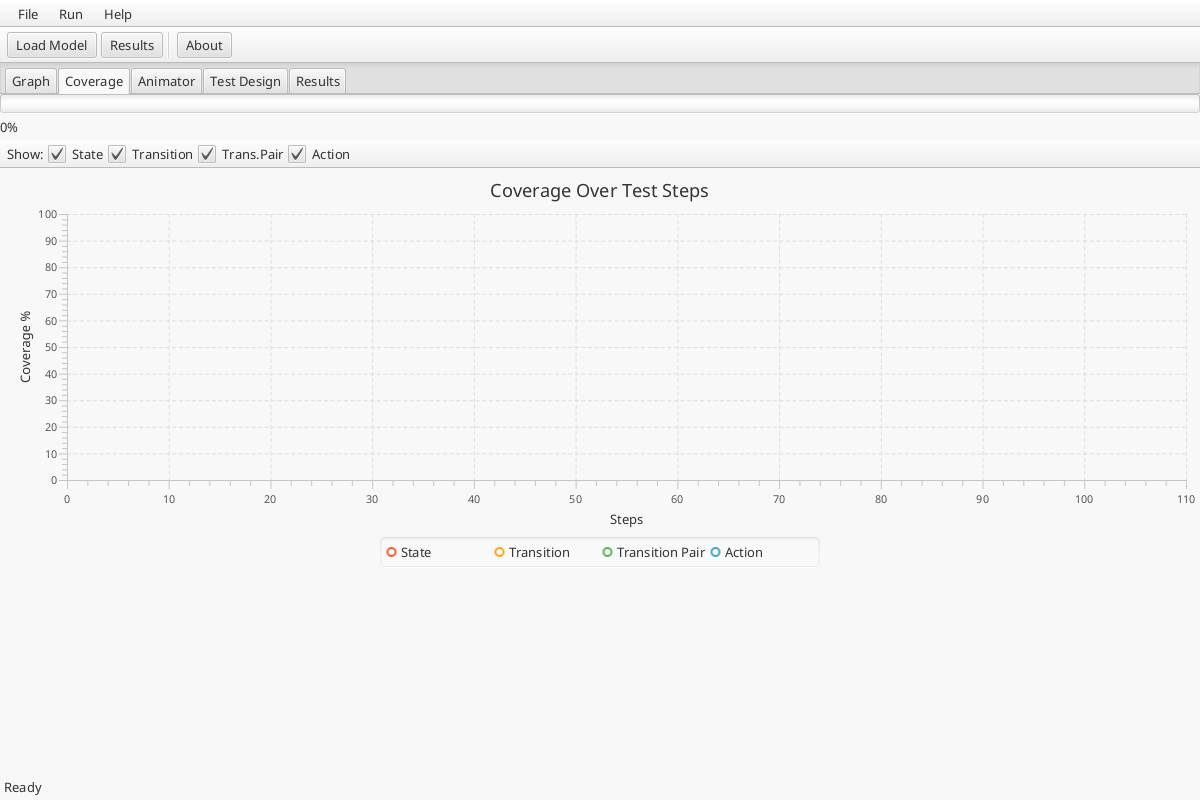
The chart plots four coverage series in real time:
| Series | What it measures |
|---|---|
| State (red) | Percentage of distinct states visited |
| Transition (orange) | Percentage of distinct transitions fired |
| Trans.Pair (green) | Percentage of consecutive transition pairs covered |
| Action (blue) | Percentage of distinct actions fired |
The X-axis is test step count; the Y-axis is coverage percentage (0–100%). Use the checkboxes above the chart to show/hide individual series.
Animator Panel
The Animator panel lets you manually step through the FSM one transition at a time:
- Click Reset to return the model to its initial state.
- The Available actions list shows transitions whose guards are currently satisfied.
- Click an action name to fire it — the model advances, the graph highlights the new state, and coverage metrics update.
- Use Step randomly to fire a randomly chosen enabled action.
This is useful for debugging models and checking guard logic interactively.
Results Panel
The Results panel accumulates a log of all actions fired during test generation:
Typical Workflow
- Launch the application (
mvn javafx:run -pl modeljunit-fx) - Load a model from the Test Design tab (built-in or from file)
- Configure the algorithm (Greedy is a good default), walk length, and coverage metrics
- Generate Tests — watch the coverage chart update in real time
- Inspect the FSM graph to understand the model's state space
- Review the results log for the action sequence
- Iterate — adjust the model, reload, and re-run
Headless / CI Use
For running JavaFX in CI (no display), use Xvfb:
The modeljunit-fx-cucumber module runs Cucumber BDD acceptance tests against the GUI and captures screenshots automatically. See the project .gitlab-ci.yml for the full CI configuration.
Next Steps
- See the Getting Started guide for the programmatic API.
- See the ParamEdit guide for combinatorial test data generation.
- See the MBT Tutorial for a comprehensive introduction to model-based testing.